How to Epoxy Coat a
Garage Floor
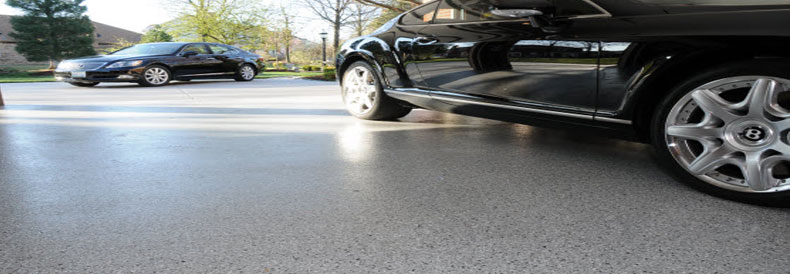
Choosing to learn the basics of how to apply an epoxy garage floor coating can be extremely beneficial! Below we are going to cover the general steps of a multiple coat flooring system that consists of a primer coat, 100% epoxy, and a clear topcoat. Take each step as an individual task and do not attempt to read the entire process as just one because it can seem a little bit overwhelming at first. We do recommend that no less than two people work on applying an epoxy product if you are not an experienced installer. The extra hands can help reduce the margin of error and make the entire process move much more quickly.
Preparing the Garage Floor
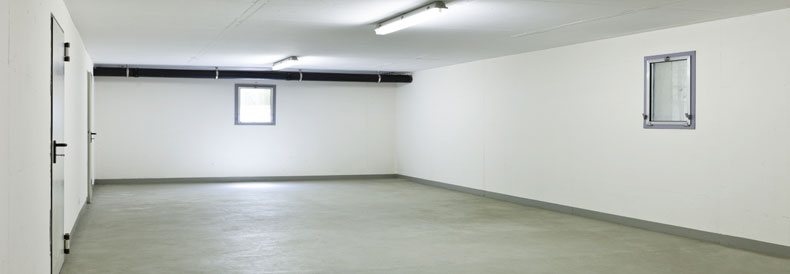
Poor floor preparation can be huge issues once it is all said and done! There has to be a large chunk of time dedicated to properly preparing a surface before installing an epoxy coating. Many times, a perfectly good product is blamed for the coating not curing properly when the surface had not to be prepared properly.
- Clear out the garage
- Sweep the floors to get a better look at the concrete
- Ensure that loose items, big and small, have all been removed
Inspection time
If at any point in time, there has been a sealer or paint that is blocking your concretes pores it has to be removed. Mechanically grinding the surface will remove coatings and such while also opening up your concrete’s pores. The test for sealers, if you’re not sure, can be done by simply sprinkling water on the surface and checking to see if the water was absorbed. Concrete is an extremely porous surface and will allow water to penetrate its pores if there is not a sealer or paint on the surface. Sometimes, it can be hard to tell with the water test, so the next possible option is an acid etch. Apply some acid in the area you’re trying to test for sealer, if it turns yellow and fizzy then you do not have any sealer on your concrete but if there is no reaction at all then there is a sealer that needs to be removed.
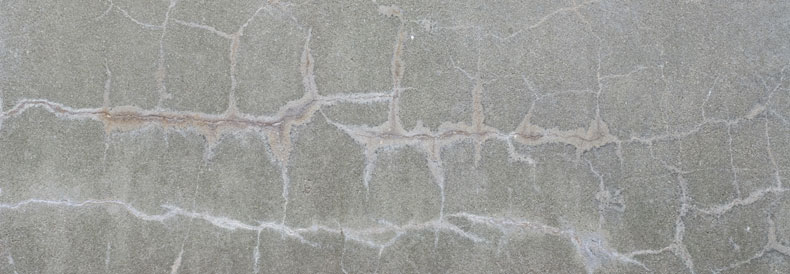
- Cracks, pitting, and spalling all need to be repaired
- If the cracks or damages are beyond simple repairs, you may want a garage floor covering instead of a coating
- For any newly poured surfaces wait 30 days after installation to try epoxy on the surface
Moisture is not your friend
You need to look for damp concrete areas or efflorescence, which appears to be powdery and it forms on the top of your concrete, this is a sign of rising moisture beneath your slab. These rising droplets are reacting with lime and salts in your concrete, as the water continues to leave the concrete more, white residue is being left behind. Sometimes, the area is overall too humid, and these white looking substances are left behind. If there aren’t any visible signs of moisture you will want to test the surface for calcium chloride at the least.
- Moisture will hinder an epoxy surface curing with concrete
- Water will ruin a concrete surface
- Trapped moisture in concrete pores creates a space that grows mold and mildew
Clean your space
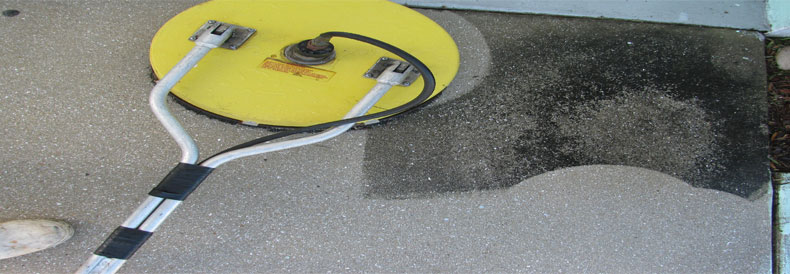
Once the necessary steps have been taken for your garage floor to accept the epoxy coating, clean the garage floor. This is not the same process as preparing the floors, cleaning means sweeping, pour washing, mopping, and scrubbing. Remove old marks and stains or any residual oils or grease droppings. If these areas and issues are not properly removed, then you will have spots where the coating does not properly absorb.
- Grease and oil, if not cleaned off, will prevent the epoxy from curing in those spots
- Stains can be amplified once the epoxy has been applied, drawing attention to those areas
- Without proper cleaning, it is a waste of time to install an epoxy floor coating
Profile your garage
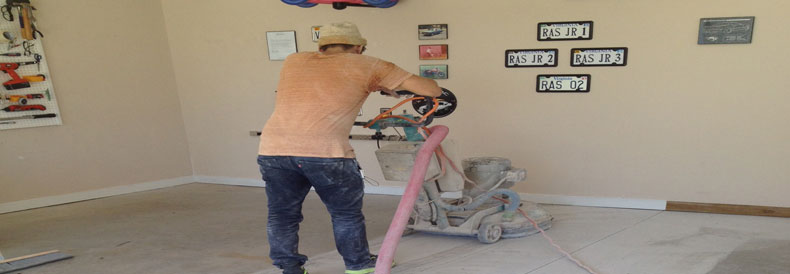
Expose those pores! When you pour the epoxy on the concretes surface, if the pores are not open, the substance will not penetrate properly, and it will not stick to your floors. Grinding your floors is the preferred method in ensuring that its pores are open and ready to take in an epoxy coating.
- Post grinding, make sure to properly clean off your floors
- Vacuum thoroughly and dust
- Keep away all dust, dirt, and machinery once you have properly finished opening your concrete garages floors pores
Mix and apply your epoxy
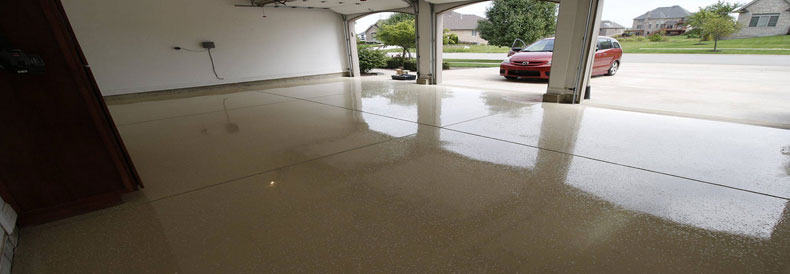
Here are some general instructions but it is important to always consult the manufacturer’s instructions. Respectively, your resin and hardeners should be mixed in their containers and different mixing tools should be used as well. Do not allow any part of the other to mix into the buckets because you will set off the chemical reaction. Pour the hardener into a separate bucket first and then the resin into that same bucket. The hardener is lighter in weight and less sticky when compared to the resin. Mix these two substances for at least two minutes and at this point, it is important to follow your manufacturer’s instructions on the application
- If you’ve reached the last coatings, add any slip additives
- Mixing too quickly will introduce air into the mix and will create air bubbles while applying
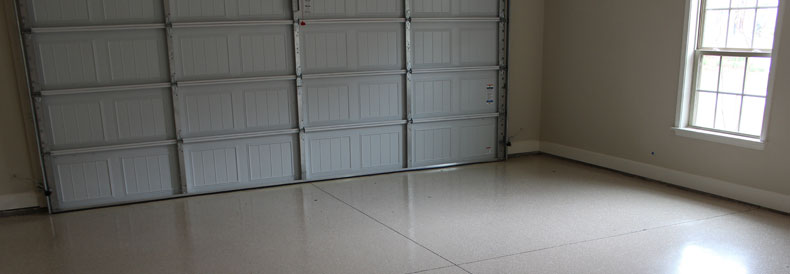
- When it has been properly mixed and installed it should be smooth and beautiful
